Sunday, April 24, 2011

More wool shorties

IMG_2840

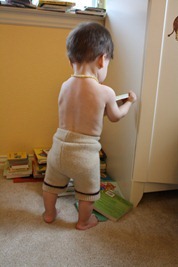
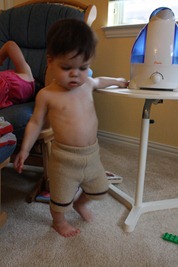
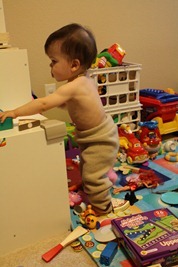
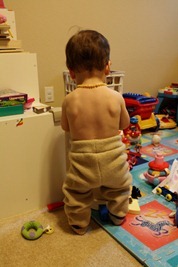
Yeah, yeah, another pair of wool shorties. I've almost got enough to call it good for the summer months -- well, unless Noob outgrows the smalls over the course of the summer. Which is likely. At which point, you'll be subjected to more of these posts as I sew up mediums. Sorry.

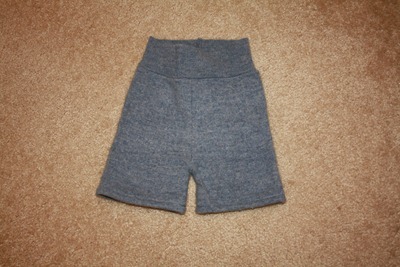
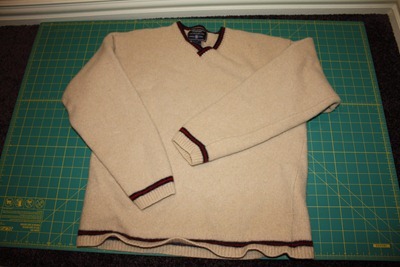
Anyway, I got the sweater that I used for this pair during the same thrift store run where I got the one that I used for the last pair. I think this one cost $1.50 -- expensive, I know! :) But here's why I was willing to pay that much. For starters, I love the color. It's very denim-y, so I think it will work nicely with shirts that I'd normally pair with jeans. Also, I love the wool. I mentioned previously that lambswool is probably my favorite type of wool for diaper covers. My second-favorite type of wool is cashmere. It's not quite as thick as lambswool and tends to stretch out easily, but it is soooooo soft! Well, guess what this sweater was made out of? 95% lambswool/5% cashmere! It is soft like cashmere, but feels like it will hold up better like lambswool. It's also a nice weight for hot Texas summers, not as thick/hot as lambswool but more substantial than cashmere.

As always, I used the Katrina pattern, size small. I used the ribbing from the bottom of the sweater for the waistband, and cut it one size smaller since it's so stretchy.

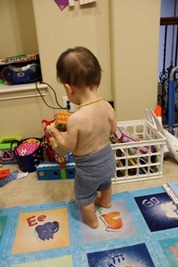
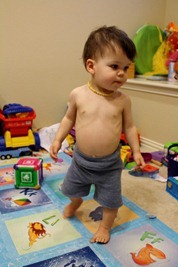
I love how these turned out. I think they'll see a lot of use this summer!

IMG_2805IMG_2801

Friday, April 22, 2011

What can you get for $1?

Hubby and I do most of our shopping for kids' clothes at thrift stores. There are a couple of awesome ones near our house, and it makes no sense to pay $10 or more for a piece of clothing that will be worn for just a few months. So, I did some shopping for the kids a few weeks ago, and stopped by the men's sweater rack while I was there to see if there were any good items for upcycling into diaper covers. I know, I know, I should really limit myself to sewing out of my massive box of sweaters that I got for $10, but... well, what can I say. I'm not that disciplined. And anyway, the sweater rack is pretty hit or miss, so it's by no means a certainty that I'll find anything good when I look.

Well, turns out that it was a "hit" day. I picked up three nice wool sweaters for a grand total of $3.50.

Here is the first one. It was priced at $4, but since it was sale day at the thrift store, it was only $1. (Yeah, that's right, I'm so cheap that I don't even shop thrift stores: I shop sale days at thrift stores.)

IMG_2670

It's from American Eagle Outfitters. 100% lambswool, which is one of my very favorite types of wool for upcycling, because it is usually soft but still nice and thick. Men's size extra large, which meant that even after I felted it slightly (by washing on warm and then drying on high) to make it a little thicker, it was still plenty big.

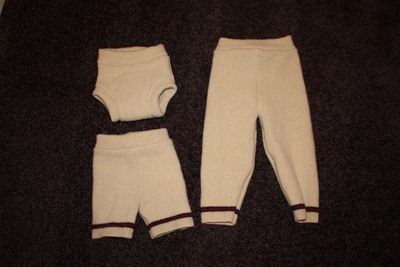
So, I got to cutting and sewing. And after a few hours, I had this:

IMG_2727

Top left - Soaker, Katrina pattern size medium, made out of the body of the sweater.

Bottom left - Shorties, Katrina pattern size small, made out of the bottom of the sweater's body.

Right - Longies, Katrina pattern size medium, made out of the sweater sleeves.

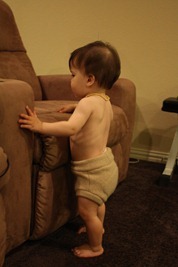
Now for some action shots! The soaker is a little big on Noob, but not too bad:

IMG_2753IMG_2742

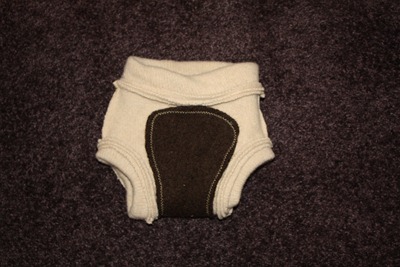
By the way, I cheated on this one :) I didn't have enough fabric in the sweater for an extra wetzone layer, so I cut one out of a coat (from my $10 box of sweaters... so I did use it!). It's super thick, so this soaker should be pretty bulletproof. Here's a shot of the inside with the extra layer:

IMG_2731

Here are the shorties. They are a little long, because I cut them the same length as the other pair of shorties I made, forgetting that I wouldn't be hemming these ones :) (I used the finished edge of the bottom of the sweater instead.)

IMG_2714IMG_2712

And the longies. Obviously, Noob won't have any use for these until next winter, so I made them pretty big:

IMG_2725IMG_2722

IMG_2724

Not bad for a buck.

Saturday, April 9, 2011

Quick and dirty wetbag revisited

I posted previously about a "quick and dirty" wetbag that I sewed using sandwich PUL from the Swaddlebees clearance section. After sewing that bag, I had about half of that end cut left -- plenty to sew up one more! And you can never have too many wetbags... I use them not just for cloth diapers but also for storing pump parts in my pump bag, for bringing wet swimsuits home from the pool, etc. They are super handy!

This time around, I took pictures as I sewed up the bag.

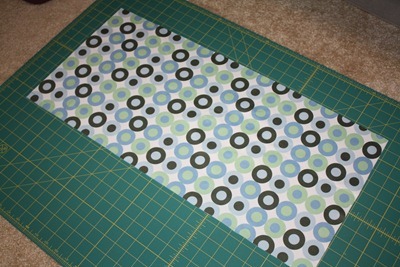
I started by cutting a rectangle of PUL. I think mine was about 12" by 25", but it doesn't really matter -- you can make any size you want/need.

IMG_2473

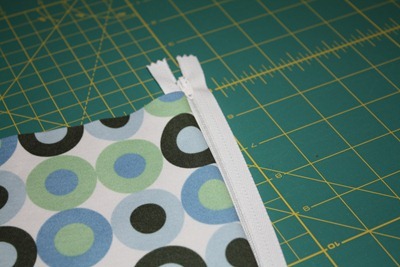
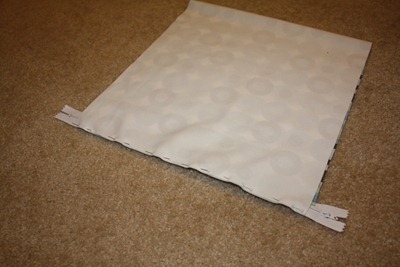
I put the zipper down with the teeth facing up. I put one short end of the fabric on the zipper, right side down, lining up the top edge of the fabric with the top edge of the zipper tape.

IMG_2474

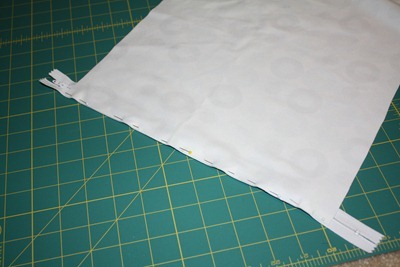
I sewed a seam down the length of the zipper tape, then flipped the fabric over along that seam:

IMG_2475

I topstitched down the length of the zipper tape.

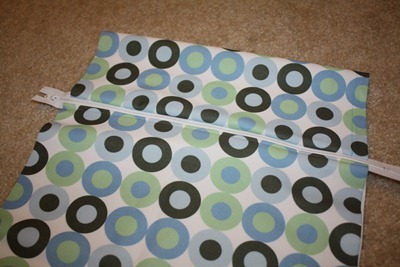
Then I folded the fabric right side to right side and lined up the other short end of the fabric with the top of the other side of the zipper tape:

IMG_2661

Again, I sewed a seam down the length of the zipper tape. Then I flipped the fabric right side out:

IMG_2662

And topstitched down the length of the seam again.

Now, with my last bag, I flipped the bag inside out, sewed a seam down each side, and called it a day. But this left raw edges and the zipper tails visible inside the bag -- not the end of the world, but not the prettiest design, either. So this time around, I took a slightly different approach.

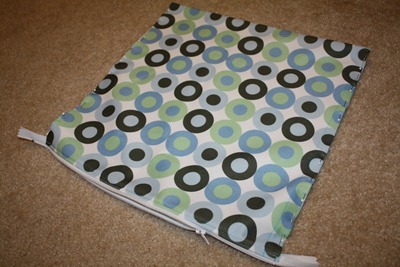
I left the bag right side out and pinned down the two side seams. I made sure to unzip the zipper most of the way before doing this. Otherwise I would have sewed my zipper on the outside of the bag :)

IMG_2664

I trimmed down the seam allowances to about 1/8", ncluding trimming the zipper tape on both sides so that I no longer had those long tails:

IMG_2665

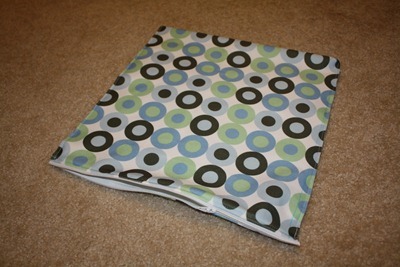
Then I flipped the bag inside out (through that partially unzipped zipper) and sewed down both edges with a 3/8" seam allowance. Done!

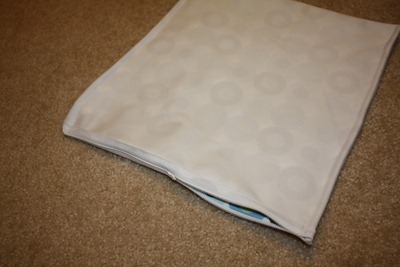
Here is a shot of the inside of the bag before turning it right side out. No expose seams... yay!

IMG_2666

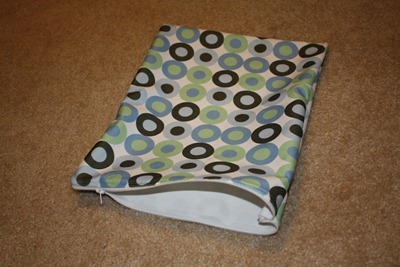
View of the outside:

IMG_2669

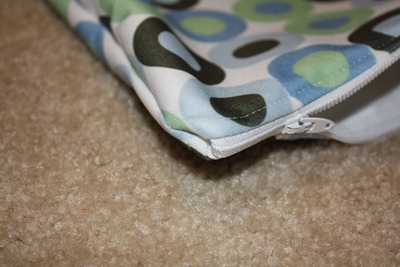
The raw edge of the zipper tape is neatly sewed into the seam on this side:

IMG_2668

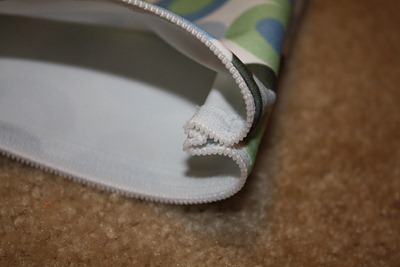
But it's visible on this side :( Not sure what else I could to do hide it... it's not too bad anyway:

IMG_2667

Easiest wetbag ever! I think it may have taken longer to write this post than to sew this wetbag :)

Diapers, again

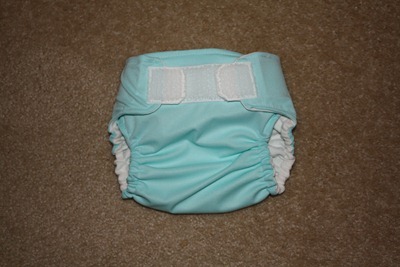
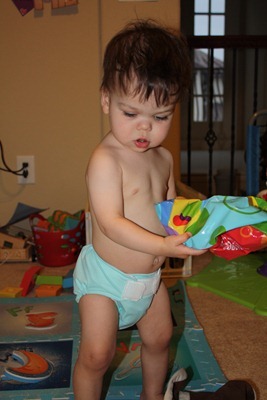
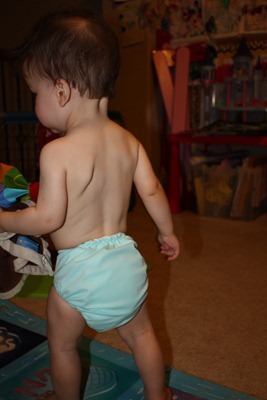
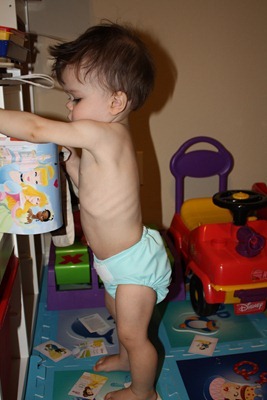
When I bought the PUL to make T's wet/dry bags, I accidentally ordered two yards, when I only needed less than one yard. So I have a ton of leftover aqua PUL, and I figured it was time to turn it into some diapers. Round one...

IMG_2463

Outer is PUL from fabric.com, inner is butter suedecloth from Hancock Fabrics. The pattern is Darling Diapers Unlimited. Last time I sewed this pattern, the pocket that I made was too narrow for easy stuffing. Luckily, the pattern has an option for a slightly wider diaper (you cut the pattern with color sides -- if you've ever seen the pattern before, this will make sense!), so that's what I did this time and it worked out beautifully.

The hook & loop is aplix from Verybaby.com. I ordered some aplix and touchtape from them a while ago, and used the touchtape first. I haven't been impressed... the loop side is super sticky, to the point where it is hard to actually get the hook unhooked. Also, the selvages have tended to unravel on the diapers I've made so far. I finally ran out of it and switched to the aplix for this diaper, and oh my goodness! So much better. It is soft and not too sticky. Love it.

On the bum...

IMG_2469

IMG_2470

It is a little bit "bubbly" in the back, and I'm not quite sure why. It's not too too bad, but not as trim fitting as the Bum Genius pockets that we usually use.

IMG_2471

After I finished that one, I pulled out some sandwich PUL that I bought from the Swaddlebees clearance section last summer. They had a bunch of discontinued PUL, including prints, which are very hard to find! And it was selling for basically wholesale pricing, $6/yard. (They still have some left at that price, but all solids, no more prints.) I got that and some microfleece for diaper inners and also some wool. But they told me that they had oversold the PUL, so I cancelled the entire order, figuring microfleece was no good without the PUL and, well, I didn't really need the wool. They came back and said, "Can we substitute a different print for you?" So rather than the discontinued "Blue Martini" print, they sent me the current "Blue Summer" print. And as I mentioned in a previous post, they threw in an end cut of "Blue Martini," which I've been using to make wetbags. Big score!

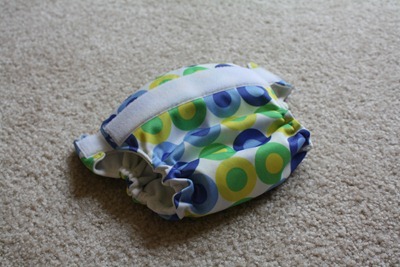
Anyway, here's what I sewed up. Same pattern and suedecloth inner as the previous diaper:

IMG_2519

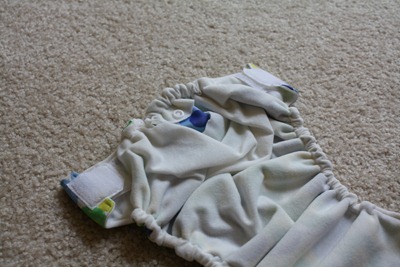
The pattern calls for sewing a small strip of lining fabric at the back to create the casing for the back elastic. I made it a little bit wider than the pattern called for (2" wide instead of 1.25") and added a snap socket:

IMG_2520

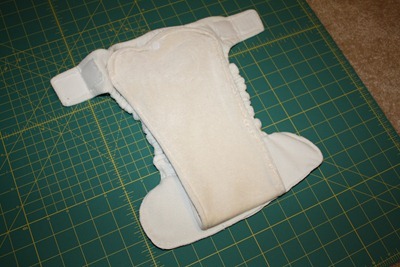
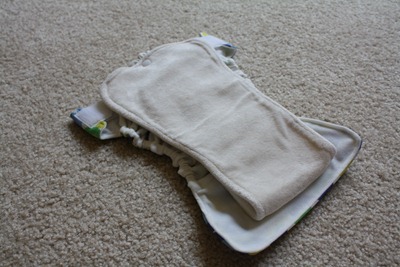
Now I can either stuff the diaper's pocket or snap in a soaker to use it as an AI2, just like my Softbums Omni. Here it is with a snapped-in soaker. This is the "fake pod" that I made for my Omni a week or so ago.

IMG_2521

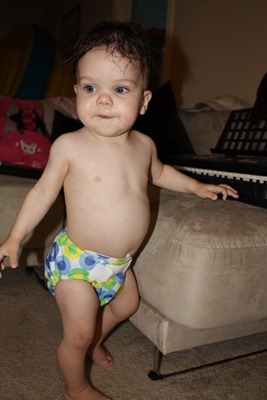
On the bum... excuse the runny nose. He is teething:

IMG_2579

IMG_2581

IMG_2580

I've always found sewing diapers to be a little tricky -- the elastic, in particular, gives me fits -- which is why I don't do it a ton. But doing two back-to-back seems to have helped, as the second diaper came together a lot faster than the first. I'm about to go on a one-week business trip and won't be able to sew, but I have some more diaper ideas when I get back, so I think I may knuckle down and churn them out!

Monday, April 4, 2011

Wool shorties

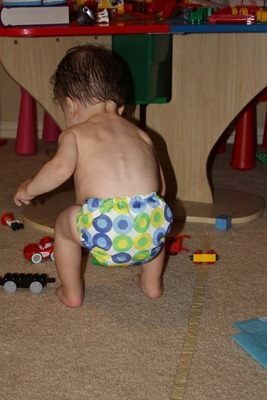
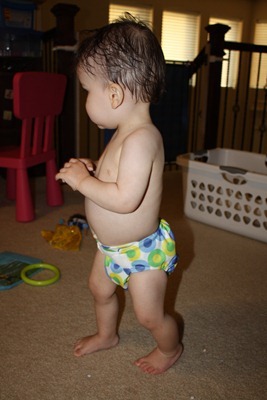
It's starting to heat up down here in Texas, and Noob's wool longies are getting to be a little too toasty. So during yesterday's naptime, I sewed up a pair of wool shorties. Same idea, just a shorter length.

IMG_2420

I used another one of the wool sweaters out of my huge box that I bought for $10. This one is a little scratchier than the one I used for the longies, but not too bad. It looks black in this picture, but it's actually dark blue in color.

As always, I used the free Katrina pattern. Size small with about a 3" inseam after hemming.

For the waistband, I used the ribbing from the bottom of the sweater, in a single layer (rather than the double layer that the pattern calls for). The ribbing is really stretchy, so I made the waistband one size smaller than the body of the shorties, and it's perfect. It also has that contrasting gray trim, which looks really cute!

Have I mentioned how much I love this pattern? It is so easy and versatile.

Saturday, April 2, 2011

Quick and dirty diapering projects

The kids and I were out late tonight watching Hubby play hockey, so once I finally got them to bed, I didn't have a ton of time to sew. So I just worked on some easy diapering items.


First up was a new wetbag. I only have two medium-size ones (holding about 3-4 diapers) for use in the diaper bag, and it never seems to be enough, so I've been wanting to make some more. For the body of the bag, I used some sandwich PUL from the Swaddlebees clearance area. I had ordered a yard of this PUL to make diapers, and they threw in an end cut of a slightly different print for free. It's only about 14" wide, not enough to make a diaper, but perfect for a wetbag. And since it has a cute print, I could just do a simple single-layer wetbag, rather than doing an inner PUL layer/outer print layer like I usually do.
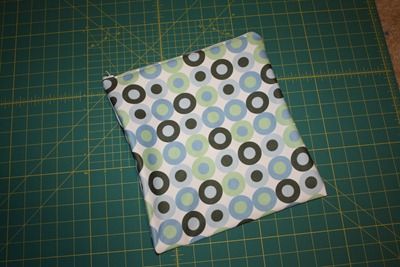

IMG_2091


I got the zipper from my new zipper stash :) Since I've been sewing a lot of wet/dry bags, sleep sacks, etc., I keep having to buy zippers, at $2 apiece or more. The zippers sometimes cost more than the fabric! That was starting to annoy me, so I went on eBay and bought a lot of 100 zippers for $27, including shipping! All different colors and lengths. Obviously a lot cheaper, even if I don't end up using every one of them. Plus, it's nice just having them there for when I feel like sewing something with a zipper!


IMG_2091


Anyway. The sewing was super easy. I just sewed in the zipper (using a method similar to the wetbag tutorial I always use, except with just one layer) and then sewed down the two sides. Done!


The bag is a little ugly on the inside, as you can see raw seams and the tails of the zipper tape. (Normally, all that stuff is hidden in between the inner and outer layers of the wetbag.) But it's functional, and the price is right!
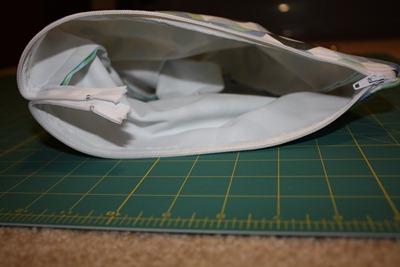

IMG_2095


Once I finished that up, I worked on a "fake pod" for my Softbums Omni diaper. The Omni is pretty nifty... truly one-size (by means of a unique toggle elastic system), and it can work as either a pocket diaper (by inserting the "pod," or insert, into the pocket in the diaper) or as an all-in-two (by snapping the pod into the body of the diaper). I only have one shell and one pod, so I'm not really able to use it as an all-in-two right now -- I can't use the shell more than once. But I figured it wouldn't be too hard to sew my own pods.


I got some bamboo velour and bamboo fleece from Nature's Fabrics, and prepped it by washing it on hot 4-5 times. (I just threw it in with my whites whenever I did a load.) Real pods are 3 layers of bamboo fleece and one layer of bamboo velour, but that makes it really thick and Noob doesn't need all that absorbency, so I decided to use just two layers of bamboo fleece. I traced the shape of the original pod onto the fabric, then cut around it with a generous seam allowance.


I layered the fabric as follows: bamboo velour right side up, first layer of bamboo fleece right side down, second layer of bamboo fleece (doesn't matter what side is up). Then I sewed on the tracing line, turned the new pod, and topstitched all around. Finally, I added a snap socket at the top of the new pod, for snapping in to the Omni shell when using it as an all-in-two.


The result is an almost perfect copy of the original pod. In this picture, the original pod is on the left, and my copy is on the right:
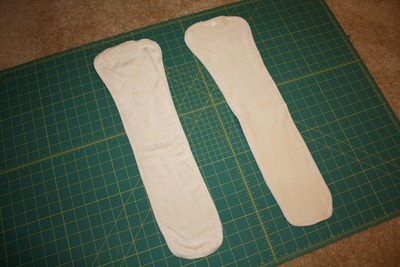

IMG_2089


It fits nicely in the Omni shell:


IMG_2090


I'll try it out tomorrow and see how it performs!